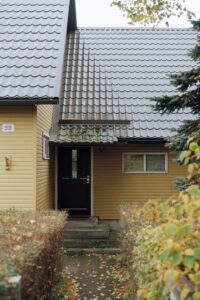
Metal roofing is an attractive, long-lasting, and easy-to-maintain roofing option. It’s no wonder that so many consumers are choosing it for their homes. Yet, metal roof installation is different than what happens with shingles and others. If you’re thinking about this option for your new roof, be sure to work closely with the installation team so you know what to expect. Here’s an overview.
Placing the Underlayment
The underlayment sits on top of the first layer of material on the roofing trusses. The roof deck is what creates the base layer that the metal roof will attach to later. Most often, it’s made of other OSB roof deck or plywood. It’s not always necessary to replace this component of the roof, but if there’s damage to it, now is the time to replace it. In all cases, it needs to be smooth and clean, as well as dry, prior to installing the underlayment over the top.
There are several types of underlayment options available, but a commonly selected, higher-quality product is a self-healing ice-and-water membrane. No matter what type of underlayment is selected, it’s critical to ensure this base layer is placed properly to minimize any moisture penetration beyond it.
Since numerous underlayment options exist, it’s best to follow the underlayment manufacturer’s installation process. That includes meeting all expectations in overlap requirements between each of the rolls. The overlap helps to ensure that, as temperatures change, there’s enough material to protect the surface.
Drip Edge Installation
The next step is to install the drip edge, which is sometimes referred to as the eave trim. The drip edge spans the roof eave. Its job is to move water away from the structure. To place it, the roofer will start at a corner and work their way around the edge, overlapping each piece by about an inch. A hand seamer is then used to wrap around the corners all the way around the edge. Caulk or a sealant tape is then used along the seams.
Typically, the trip is held in place by roofing nails placed every 12 to 16 inches along the edge. Once this is done, it is then necessary to install the drip edge flashing along the eaves where there are gutters.
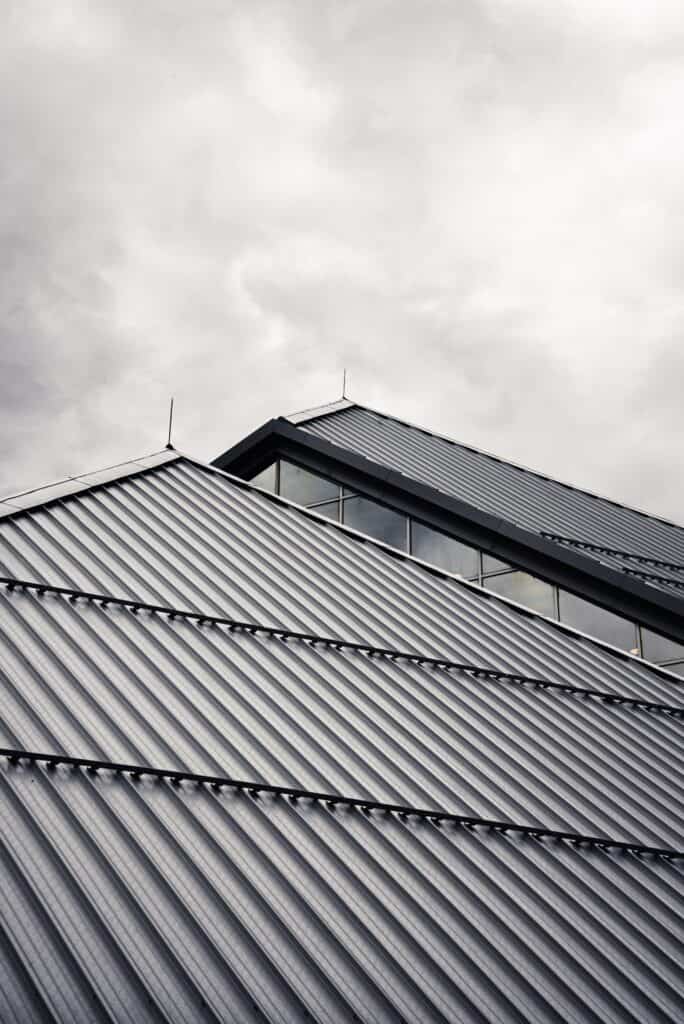
Installing the Metal Roofing Panels
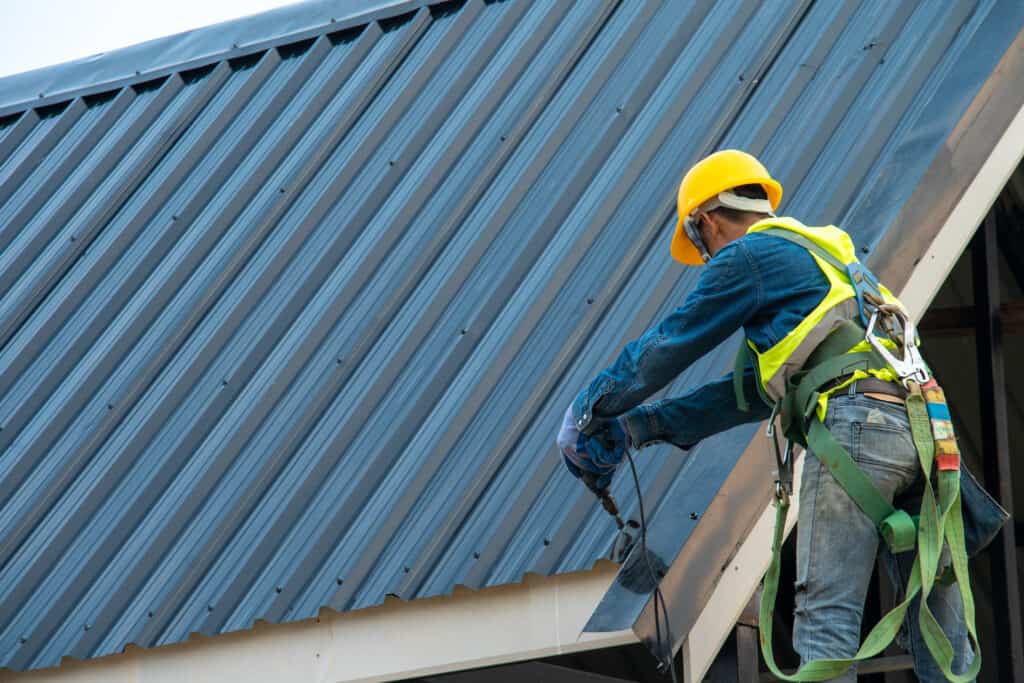
Once the base layers are in place, the metal roof installation can actually begin. The corrugated metal roofing panels are positioned over the top of the drip edges. What makes this process a bit easier is ensuring that with every piece, it is always square to the roofline. There’s less room for mistakes with this type of roofing material than shingles.
The manufacturer of the metal roof may have some specifications for this process, such as where screws are required (the placement of them and the spacing overall). Also, note that local building codes can also differ here. In short, the weight of the roof and its size make it significantly different than installing a traditional shingled roof, and to compensate for that, the right type of fastening system must be used to ensure there’s ample support.
Once ready to go, the roofer starts at one eave of the roof and then works their way upward. The panels will overlap as they go slightly (depending on the recommendations of the manufacturer). During this process, a roofing sealant, either in the form of seam tape or a caulk, is applied at the junction points. This helps seal the roof to prevent water exposure.
Each piece of metal roofing is attached with specialized metal roofing screws. Traditional roofing nails are simply not strong enough to meet the needs of this job. Again, the manufacturer’s recommendations for spacing need to be used.
Throughout this process, the roofer needs to cut the metal roofing panels using a compatible blade on a circular saw. That is one of the challenges of installing this type of roofing and why it’s often best to leave the job to the professionals.
Closure Strips and Ridge Caps
Once this layer is in place, there’s still a bit more work to do during metal roof installation. After all the pieces are in place, the next step is to apply closure strips. These are positioned at every point where the roof slopes meet. Their job is to properly seal out all moisture and to keep any debris from entering the space under the material. They also help to give the roof a clean, professionally finished look.
Several options are available, including both solid and vented closures. Vented versions tend to be the best option to provide better airflow through the area, but which you choose is dependent on the existing ventilation system in the roof.
To place them, roofers start at the bottom of the roof and then work their way upward, placing first sealant tape on the ridge and then closure strips. Most of the time, additional sealant tape is added over the top of these strips.
The final step is to install the ridge cap on top of the closure strips. Applied right to the sealant tape as a first step, they are then held in place using screws.
Metal Roofing Benefits
Metal roofing requires a much different application process but remains one of the best modern roofing products available today. There are several reasons to consider it:
- It lasts 40 to 70 years. Though you’ll need to pay close attention to the overall condition of each component, these roofs typically last twice as long as asphalt shingles.
- The maintenance is typically less. That long-lasting durability also means less need to maintain the roof. It can handle even difficult weather conditions well.
- It’s sustainable. Simply, metal roofing is made from recycled material, and it works well to minimize energy consumption, both of which are good for the environment.
Professional metal roof installation is typically best, but a very skilled and properly equipped DIYer could attempt this project. It’s best to ensure a professional does the work, though, to ensure a clean, neat look that’s properly squared and protected.