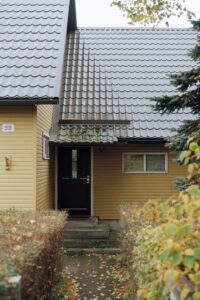
A drip edge is the part of a roof that extends beyond the siding of your house. It’s often a piece of metal flashing that is used to direct water away from the shingles of a roof and into the gutter system, or just away from your siding. It is installed beneath the first row of shingles and should overhang the fascia by at least one inch.
A drip edge installed with enough overhang ensures that water gets into the gutters, prevents water from seeping underneath the shingles, and prevents wind-blown water from entering the roof.
The standard drip edge installation isn’t always enough. In these cases, a drip edge extension can be installed beneath the existing edge. This will push it even further past the fascia, improving water dispersion and preventing water from backing up behind the gutters.
A roof replacement project is an excellent opportunity to extend your roof’s drip edge to increase the longevity of your roof and house.
Why would a house have too small of a drip edge?
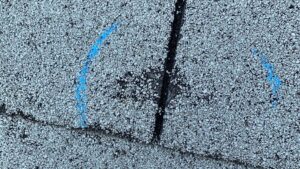
If your home was built before certain building codes were in place, your home might not have a long enough drip edge to keep water from running down the side of your house. During a heavy downpour walk around the outside of your home to look for any areas where water is draining down the side of your house.
Believe it or not, there are still some states that don’t require a drip edge in new construction homes, for the longevity of your home we recommend installing one even if your state doesn’t require it. This isn’t an issue for Minneapolis roofs, but is for other states.
A few pointers before the roof installation
The local roofing company you hire to do your roof installation should be able to handle extending the drip edge of your roof, but if you are curious as to the process; there are two planes in drip edge flashing. The roof leg is the flatter plane, while the vertical leg is the plane with a flared end. The roof leg must be secured to the roof and the vertical leg must hang down. Make sure the flange (or kick-out) of the vertical leg is aligned with the gutter.
To fit into and around the corners, the drip edge must be cut. The roof leg is referred to when the instructions say to cut the top portion. Cutting a piece of the top roof leg out makes folding the drip edge into place easier.
Nails spaced about 12 inches apart should be used to secure the drip edge. Some state building codes specify the spacing between nails.
The nails should be driven into the surface flush. Avoid driving the nails in too deeply, too shallowly, or at an angle.
Over existing shingles, a drip edge extension can be installed. In that case, it should be installed on top of the existing shingles’ lowest edge. To install the drip edge, pry the shingles apart with something.
For the overall health of your roof, consider a drip edge extension
Are you considering a roof replacement? Consider extending the drip edge at the same time. A drip edge extension improves weather performance and keeps water away from the roof’s structure.
Over existing shingles, extension drip edge can also be installed. This is a great idea for roofs that are in good shape but aren’t properly deflecting water.
For a free consultation, please contact our Minneapolis roofing team. Our roofing experts will perform a free inspection and recommend the best solution for your roof.