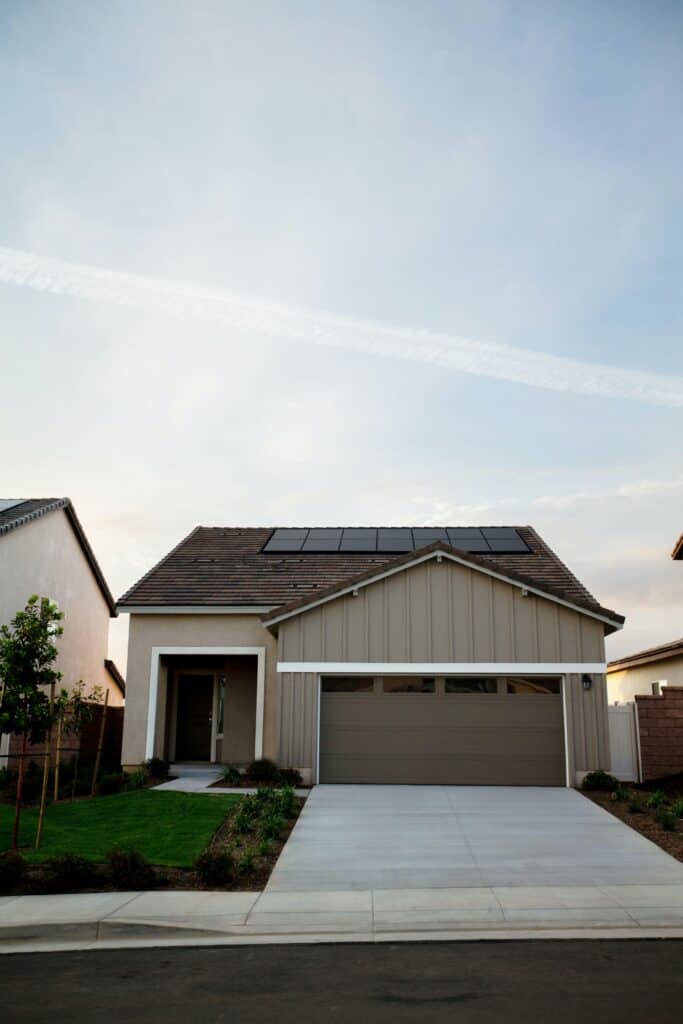
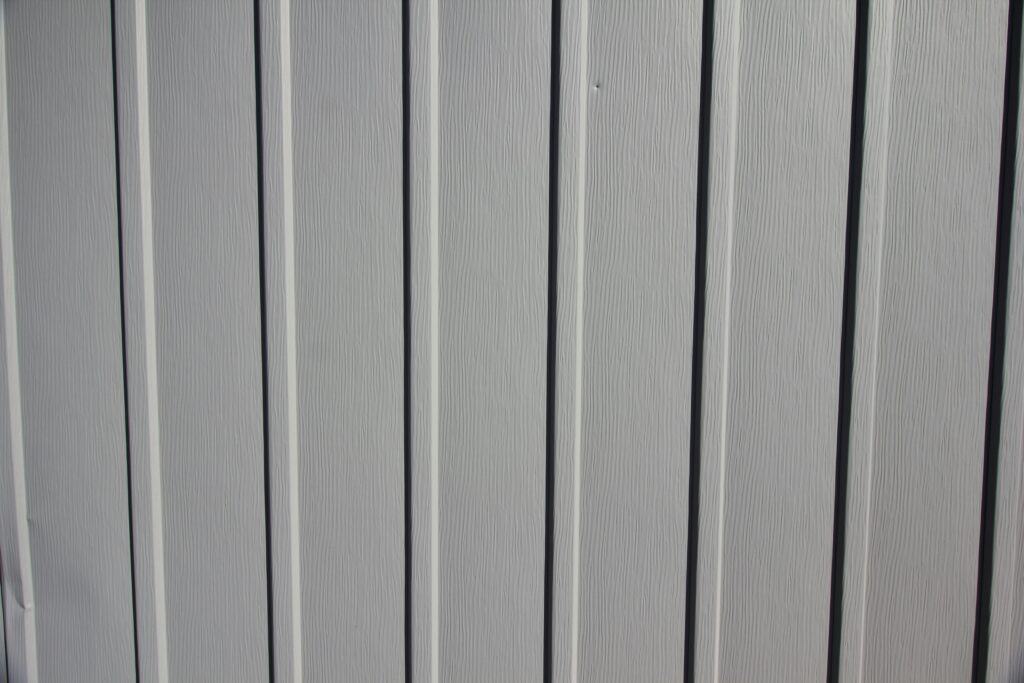
Composite siding is an excellent addition to any home’s exterior.
While the upfront cost is reasonable, there can be variance–especially if you want intricate designs and the highest possible quality.
Fortunately, well-practiced DIYers can save a ton of cash by installing composite siding themselves.
On the above note, below is a detailed guide on how to install composite siding.

Preparing For Installation
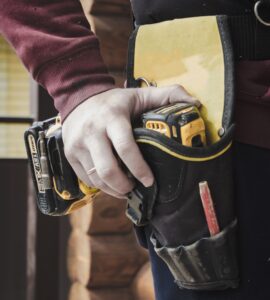
Here are the tools you’ll require to install your composite siding:
● A circular saw with a fine-tooth blade will cut the siding to the appropriate size.
● Measuring tape will correctly measure trim pieces and siding.
● A level will ensure straight and level siding installation.
● Using a hammer will secure trim pieces and accessors.
● Fasten your siding and create pilot holes with a drill.
● Choose either nails or screws to attach the siding.
● Gloves will keep your hands protected during installation.
● Remove your old siding with a pry bar.
● A dust mask will prevent you from inhaling dust particles while sanding and cutting.
● Safety glasses will stop debris or dust from getting into your eyes.
Mind these safety factors while installing your composite siding:
● Clear your work area of any debris and obstacles.
● Gloves, safety glasses, and a dust mask should be worn to protect against hazards.
● Be cautious around electrical outlets or overhead power lines.
● Follow proper ladder safety protocols, including using a sturdy, reliable ladder.
● Don’t install in inclement weather conditions.
● Familiarize yourself with and follow local building codes.
Remove the Previous Siding
Follow these steps to remove old siding:
● Upon inspection, remove any deteriorating siding before installing anything new. This way, you can rectify underlying issues, giving your new siding a clean, solid base.
● Use a pry bar to pry away panels without damaging the sheathing underneath. Be methodical while going end-to-end. Remove each panel individually. Get rid of any remaining fasteners/nails and clean any debris.
● You might need to remove some sections with a reciprocating saw.
● Replace deteriorated sheathing and inspect for moisture issues and pest infestations before installing anything.
Prepping The Area
Start prepping the area by replacing damaged sheathing with oriented strand board (OSB) or new plywood for a stable siding surface. Properly secure the sheathing and ensure it’s without weaknesses.
Add a weather-resistant barrier (if you don’t have one already) in the form of a high-quality house or building wrap. Follow the manufacturer’s installation instructions.
Do you already have a weather-resistant barrier? Ensure it has no punctures or tears and replace damaged sections.
Seal sheathing cracks or gaps around doors and windows, preventing moisture penetration, energy loss, and drafts. Use high-quality sealant.
Measuring And Cutting The Composite Siding
Measure the height and width of the composite siding installation area. Make multiple measurements with your measuring tape for optimal accuracy.
Also, measure windows and door dimensions. Leave little gaps for contraction and expansion.
The fine teeth on a circular saw with a fine-tooth blade will offer precise cuts. Seek out blades specific to composite materials.
Use a pencil or marker to mark the siding panel according to your measurements. Double check. Then, secure your siding panel to a stable surface so it won’t while you cut. Follow the marked lines while you cut.
Wear protective gloves, glasses, and a dust mask. Don’t use excessive force while cutting.
Starter Strip And Corner Post Installation
Starter strips and corner posts offer stability and guide your installation.
The bottom-most piece of siding is your starter strip. It’s the anchor for other siding panels, requiring horizontal installation at the wall base and firm securing while aligned with the bottom edge. A level will help ensure the straightness of the starter strip before you fasten.
Position your corner posts vertically at the wall corners, ensuring their plumb and correct alignment. Secure them (based on the manufacturer’s guidelines), so they’re attached to the framing and sheathing.
Be methodical during this step, double-checking alignment and levelness.

Siding Panel Installation
Follow these steps to install your new siding panels:
● Choose a vertical or horizontal installation based on your preferred aesthetic. Horizontal installation offers a more traditional look. Vertical is more eclectic and modern. Adhere to the manufacturer’s instructions about installing, layout, and spacing.
● Ensure your nails are corrosion-resistant. They must be long enough for sheathing penetration and to hold the siding firm. If you’re using screws, use what’s suggested by the manufacturer. Drive your chosen fastener into your pre-drilled holes or through screwing/nailing siding panel flanges.
● Consistent spacing between panels will offer the most eye-pleasing finished product. The manufacturer’s instructions will give you the recommended spacing. A straight edge or level will help ensure the correct panel alignment with corner posts and the starter strip.
Navigating Obstacles Like Windows And Doors
Dimensions of each door, window, or general opening should be measured if you’re installing siding in those areas. Mark and cut your siding panels based on the results, leaving small gaps to manage siding expansion and contraction.
A specialized jigsaw or fine-tooth circular saw will be needed for precise cuts.
J-channel offers a professional look when fishing window and door edges while helping secure siding. Follow the manufacturer’s instructions to install J-channel around each opening’s perimeter.
You can also install decorative accents and trims with screws or nails.
Finishing Details
High-quality caulk or sealant is necessary to fill gaps or joints vulnerable to air or water penetration. Doors, windows, and areas overlapping with siding panels demand the most attention.
Customize your composite siding (if you want) by staining and painting it. Ensure the siding is dry and remove all debris and dust. The paint and stain you use should be suitable for composite siding.
Learn More About Installing Composite Siding By Reaching Out To Canopy
DIY doesn’t mean you have to go it alone entirely. There’s nothing wrong with hitting a snag and contacting an expert who can offer clarity and give you a leg up during your project.
Are you facing challenges regarding your DIY composite siding installation? If so, reach out to Midwest today with your questions. We’re eager to provide any insights that help you achieve the ideal results.


