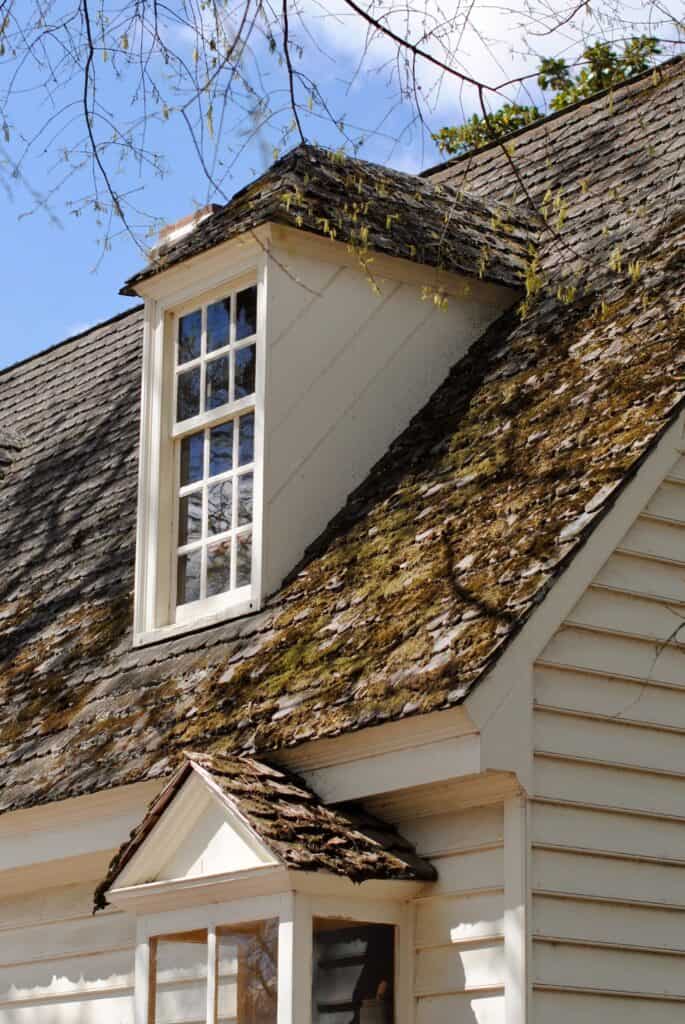
Window installation is more than just a task; it’s an art that mixes aesthetics, energy conservation, and home safety. It is one of the most crucial elements of home renovation that can make an incredible impact on the overall look of the house. While it’s typically suggested to seek professional help, if you possess the right skills and a bit of courage, it can turn into a gratifying and cost-efficient DIY project.
This guide will serve as your comprehensive roadmap, guiding you through the twists and turns of installing replacement windows. Not only will it present a step by step methodology, but it will also provide tips to overcome the common challenges faced during the installation process.
Gearing Up: Materials and Tools
Before embarking on the window installation journey, it’s crucial to assemble the necessary tools and materials for your window replacement:
- Replacement windows
- Measuring tape
- Screwdriver
- Utility knife
- Level
- Shims
- Caulk gun
- Exterior trim and finish nails
- Insulation foam
- Safety glasses and gloves
- A helping hand (optional but helpful)
With your toolkit assembled, you are ready to commence the journey of window replacement. An adequately equipped toolkit will streamline the installation process, allowing you to complete the task without unnecessary interruptions.
Step One: Dismantle the Old Window
Procedure
- Begin by gently removing the interior trim that surrounds the existing window with a screwdriver, exercising caution to avoid damaging the wall or trim.
- Next, remove the sash and any movable elements of the old window. Depending on the window design, this step may involve removing screws or using a utility knife to cut through paint or caulk.
- Finally, take out the exterior trim and any remaining parts from the old window.
This is the preliminary stage where you clean the canvas for your new work of art – the new window installation. The goal is to create a clean, clear window opening, making way for your new window installation.

Step Two: Prepare and Clean the Opening
Procedure
- Clean the window opening by removing any loose debris, dust, or old caulk. A clean surface is key for a smooth installation process. You might find the use of a scraper helpful in this process.
- Inspect the opening for any signs of damage, decay, or mold. Should you discover any issues, it’s required to replace or repair the affected parts to ensure the structural strength of the installation. At this stage, one must not rush, ensure thorough examination to prevent future complications.
Step Three: Secure the New Window
Procedure
- Fit Check: Start by placing the replacement window inside the opening to check the fit. The window should not be too loose or tight. It should fit snugly, but not tightly.
- Caulk Application: Apply a continuous bead of caulk to the exterior side of the window frame. This caulking acts as a seal and offers structural support. Make sure the caulk is applied evenly to ensure a proper seal
- Window Insertion: Carefully position the window into the opening, ensuring it’s centered and level. This is a crucial step and should be done with utmost precision to ensure a perfect fit.
- Shim Placement: Utilize shims to keep the window leveled and provide necessary support.
- Securing the Window: Once the window is leveled, secure it by driving screws through the pre-drilled holes within the frame.
- Operational Check: After fastening the window, test it to ensure it opens and closes smoothly and locks securely. This check is important to ensure the window’s functionality before proceeding to the next steps.
Step Four: Insulate and Seal
Procedure
- Apply a layer of insulation foam around the window frame on the interior side. This ensures your window is air-tight and reduces chances of drafts or heat loss.
- Reinstall the interior trim, securing it with finishing nails.
- Apply caulk along the seam where the interior trim meets the wall.
- On the exterior, caulk all gaps between the window frame and the wall. Don’t forget to cover all the areas as an extra caution against leaks and drafts.
Step Five: Finish the Exterior
Procedure
- Install new exterior trim to cover the spaces between the window frame and the wall. This gives a neat finish and conceals any spaces or gaps left out during the installation process.
- Next, seal all seams with caulk to create a weatherproof barrier. This step ensures the window can stand against all weather conditions.
- If required, paint or finish the exterior trim to match your home’s aesthetic. This helps to blend the new window seamlessly with the rest of the house, enhancing its overall aesthetics.
Step Six: Inspect the Window
Procedure
- Inspect the window from both the interior and exterior sides to ensure there are no visible gaps, cracks, or damage. Take your time and don’t rush this process.
- Retest the window to ensure it operates as intended. It should open, close, and lock seamlessly.
- Lastly, allow the caulk to dry thoroughly, in accordance with the manufacturer’s recommendations. Adequate drying time will ensure the longevity and durability of your new replacement window.

By adhering to these steps and being meticulous with details, you can accomplish successful replacement windows installation in your home. It’s essential to work patiently and closely follow the instructions for a seamless installation process. Remember, this is a labor-intensive project, and patience is the key to a successful execution.
A properly installed window not only enhances your home’s energy efficiency, aesthetics, and security, but it also gratifies you with the mark of your craftsmanship. It gives you a tangible affirmation of your DIY accomplishments. Should you encounter any difficulties, remember to take your time and review your procedures. And if needed, do not hesitate to seek advice from local home improvement stores or professional contractors to guide your project to successful completion.


